The finished product is always so satisfying, but what did it take to get there? We’re sharing some of our behind-the-scenes progress photos of our van conversion below.
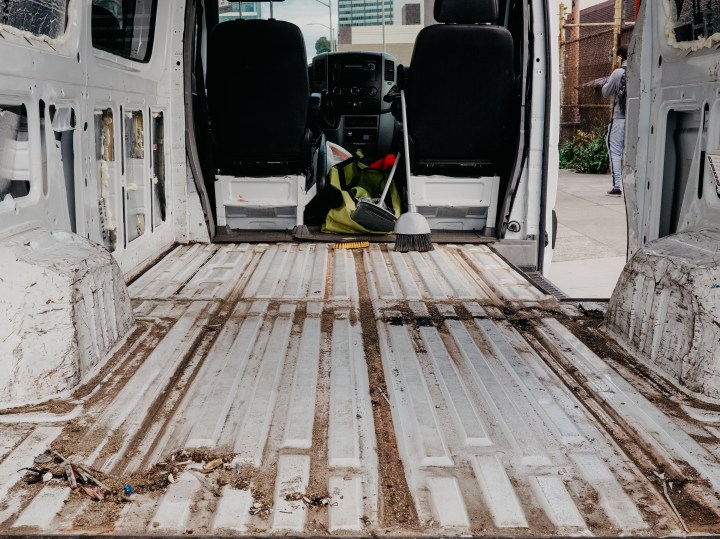
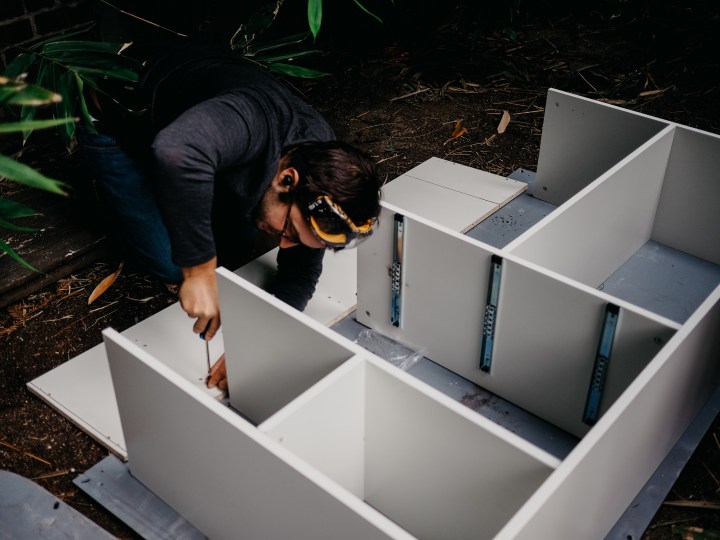
Setting out to convert a used Sprinter van, we knew it would be a lot of work, but also that we’d be in over our heads. With no carpentry experience, we were figuring out a lot along the way. Working our normal, full-time jobs meant that time dedicated to converting the van was restricted to Saturdays and Sundays (good-bye social life). And living in a Bay Area city meant parking was not easy or cheap, so the van was parked far away from our apartment. Weekday nights were dedicated to LOTS of youtube tutorials, and frustrating attempts to resolve our confusion. All in all, we’re very proud of what we managed to accomplish, and the experience gained along the way. The van conversion took five months, but would likely be much faster if we were to build a second van. Enjoy, and feel free to leave us questions/comments!
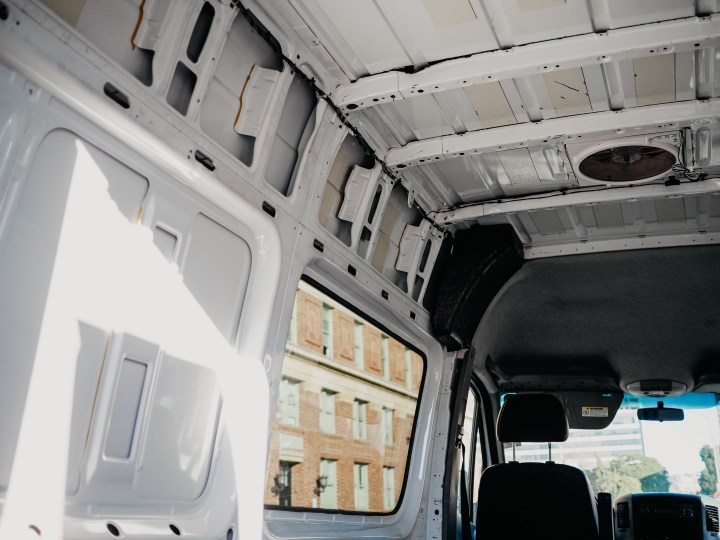
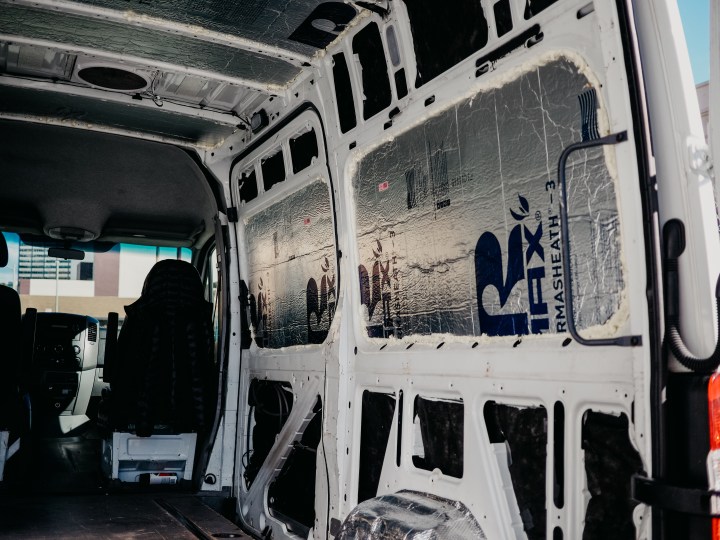
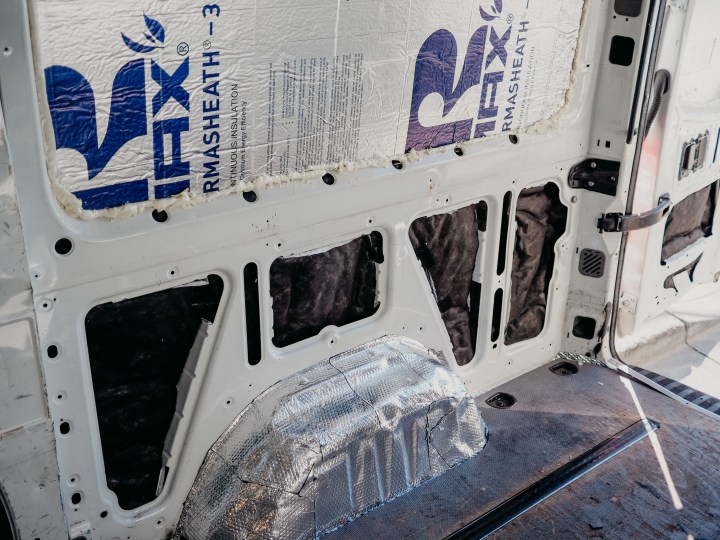
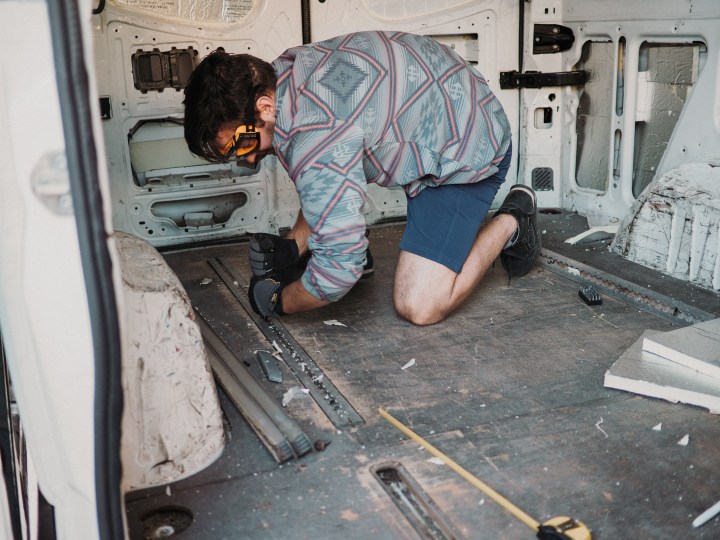
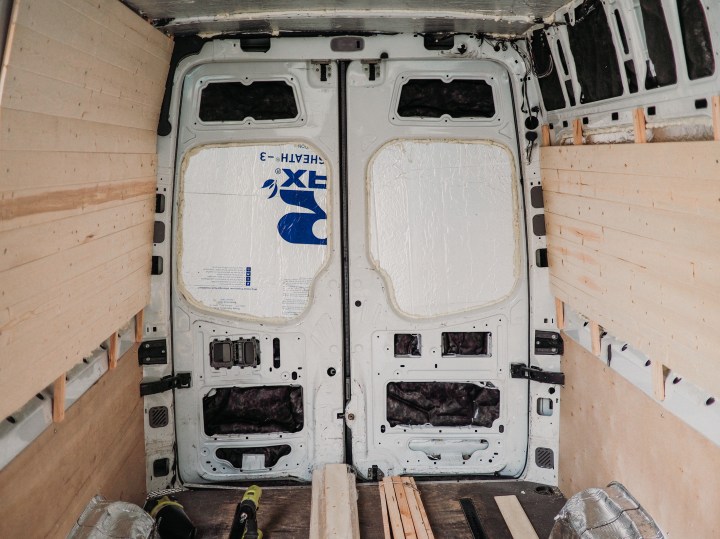
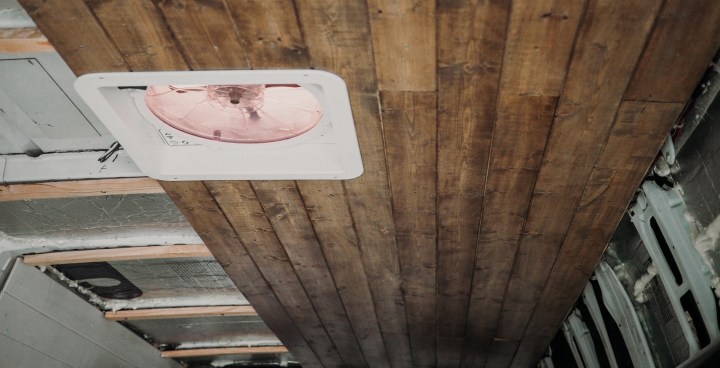
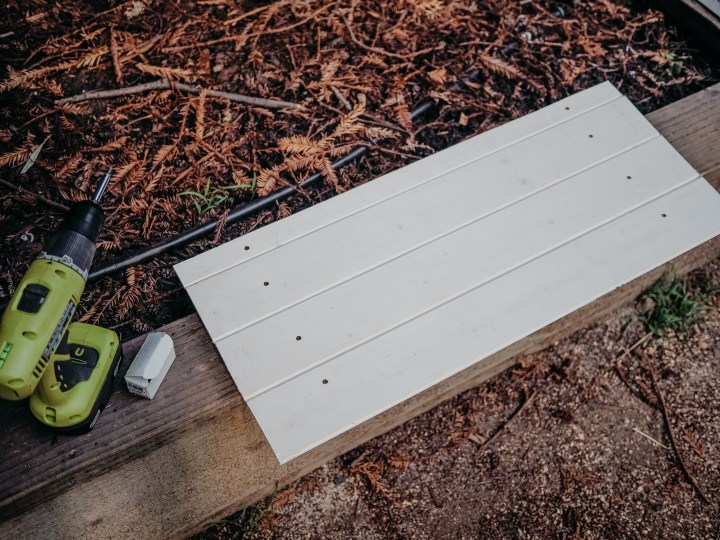
Step 1 for us was to add a window and the overhead fanPolyiso foam rigid boards for the large panels and ceilingThinsulate in the odd shaped crevices that the rigid panels couldn’t fit intoAdded sound deadening material over the wheelsRemoving the floor for cleaning9 years of dirt and grime underneath the floor. To be honest, not too bad. There was little to no rust luckily.Cleaned the metal floor, added a layer of reflectix, and put the underlayment back onCovered the underlayment in vinyl flooring – smooth, water-proof, easy to clean, and beautifulFurring strips, wall paneling, and plywood for the areas that will be under the bedRelief at getting to the stage where the van starts to look nicerFraming out the bedroom – decided to have it always be out, no folding action or having to make the bed every night
Days and days of wood staining, painting, and poly finishing
Installing the furring strips and the paneled ceilingCabinet doorsOverhead cabinets for clothes & food
Building our kitchen cabinets
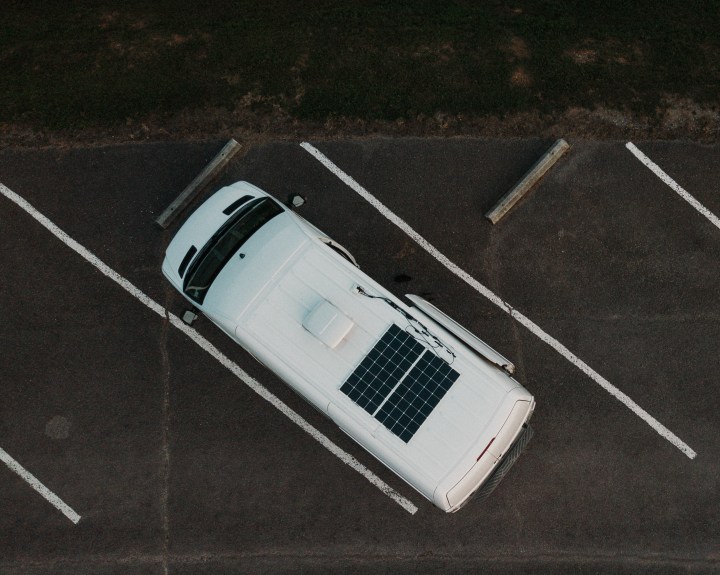
Solar panels mountedElectric & Solar set up!
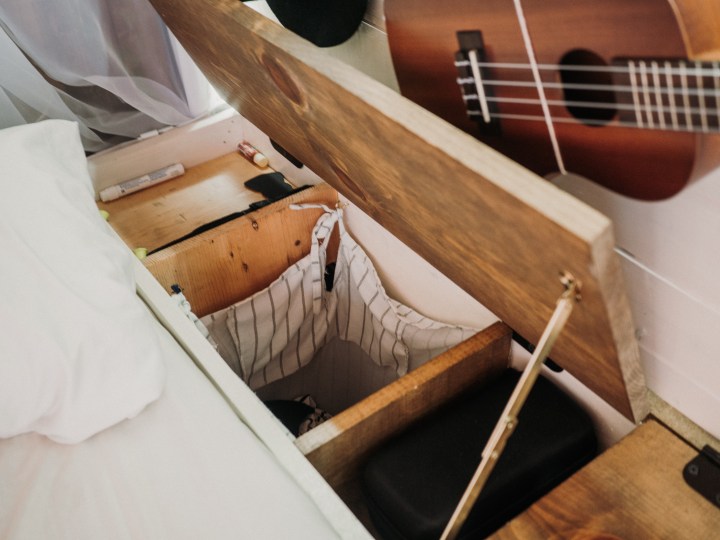
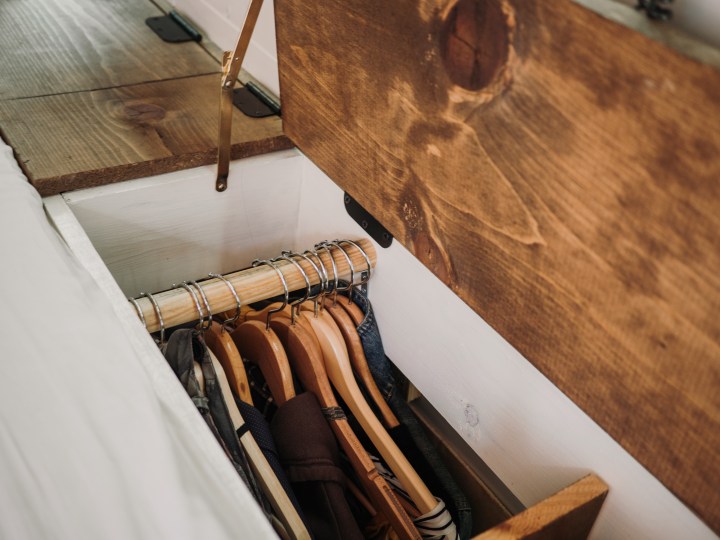
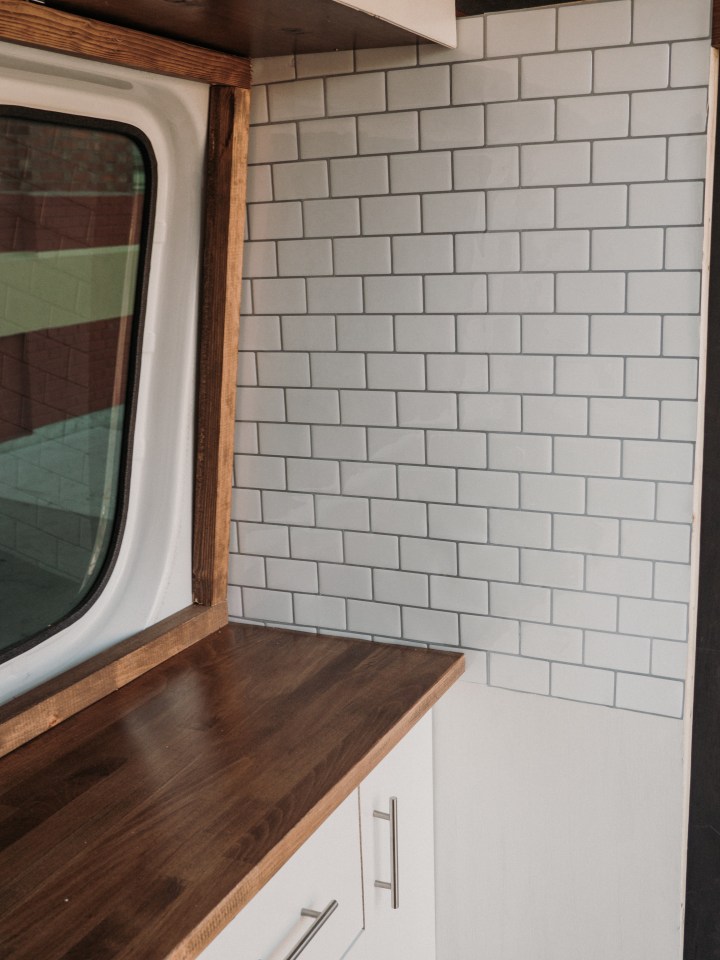
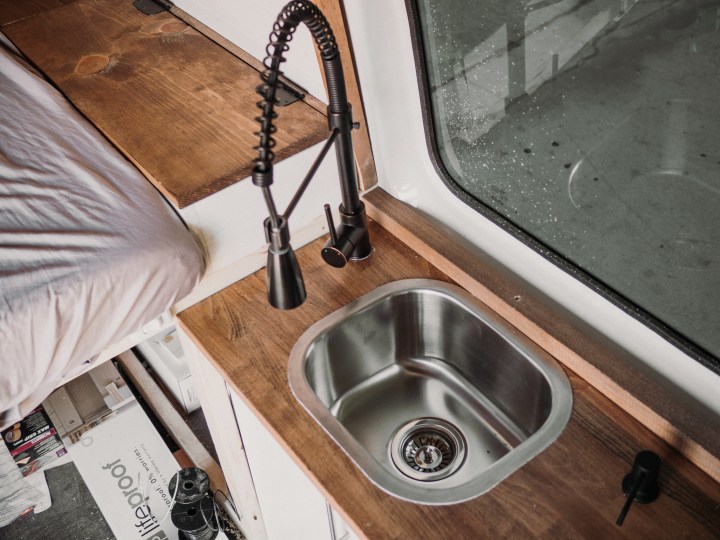
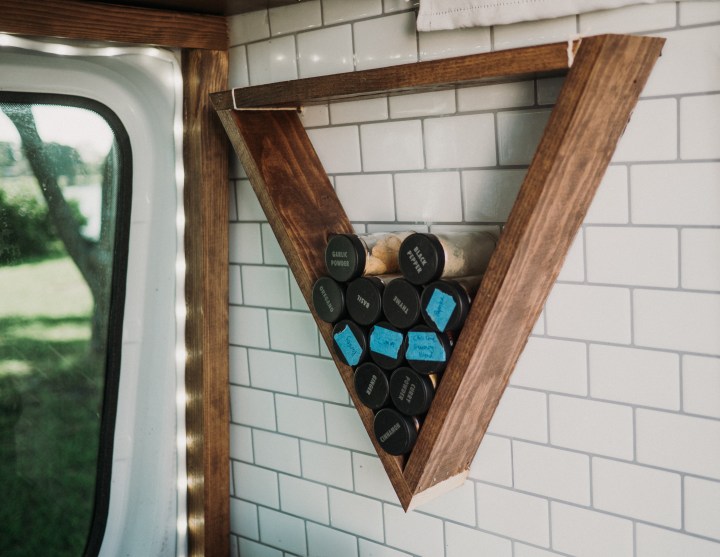
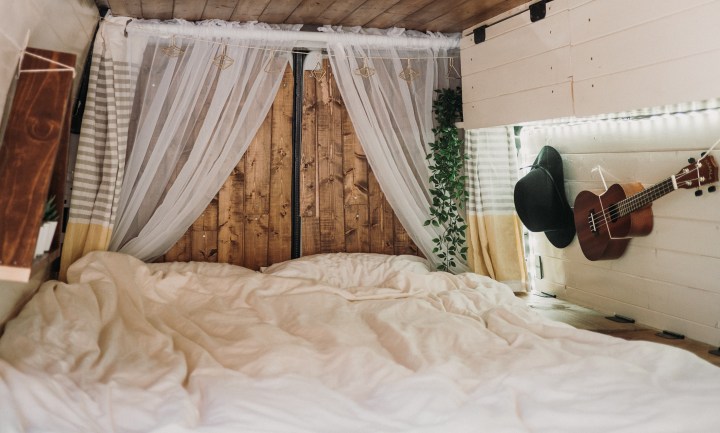
Bedside cabinetsFinished bedside cabinetsAdded a hidden clothing rackTiled kitchen wall (stick on tiles), window framing, and kitchen countertopOriginally we used a larger over counter sink, but switched it out for a smaller, stainless steel undermountSpice rack and lights
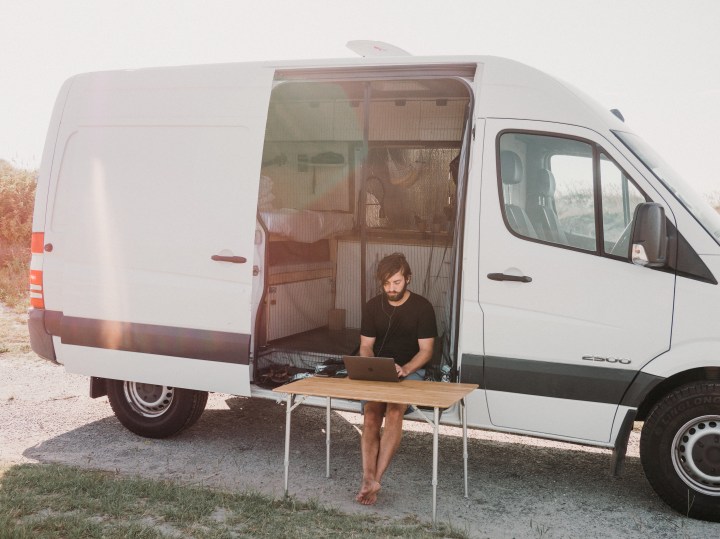
“Garage” – shoe rack, two orukayaks, camp chairs, hammock, and spare wood.Bench doubles as a holder for our Dometic cooler/fridge (runs off solar)Bench pulls out for a seating areaFinished bedroomUsing our fold out table by King Camp to do some work